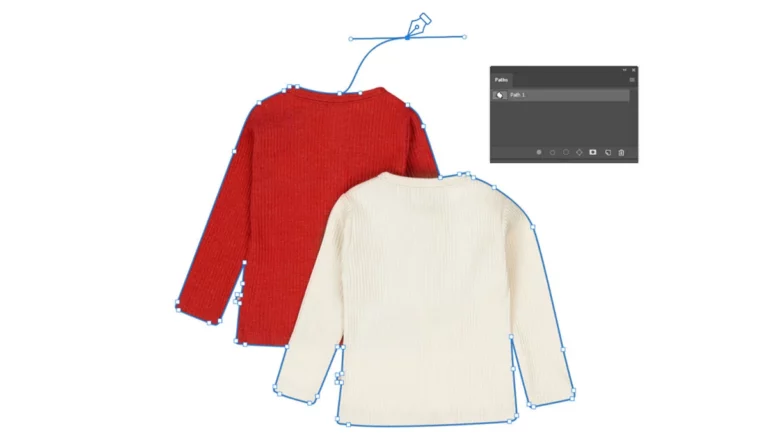
Flattening your image in Photoshop means that all your active layers will be merged into one layer. which can be useful for saving space or simplifying the image for printing or exporting.
I use Photoshop to create designs or edit images for my clients. Sometimes, I need to flatten the image. It’s easy to do, but you need to know why and how to flatten an image in Photoshop. In this article, we will guide you through the steps of flattening an image in Photoshop.
Step 1: Open Your Image in Photoshop
The first step is to open your image or PSD file in Photoshop. You can do this by going to “File” and then selecting “Open“. Alternatively, you can use the shortcut key combination “Ctrl + O” on a PC or “Command + O” on a Mac.
Step 2: Ensure all Layers are Visible and Unlocked
Before flattening the image, you need to make sure that all the layers in your Layers panel are visible and unlocked. If there are any hidden or locked layers, they will not be included in the flattened image. You can unlock a layer by clicking on the padlock icon next to it in the Layers panel. You can also make a layer visible or hidden by clicking on the eye icon next to it.
Step 3: Select any layer from the Layers panel
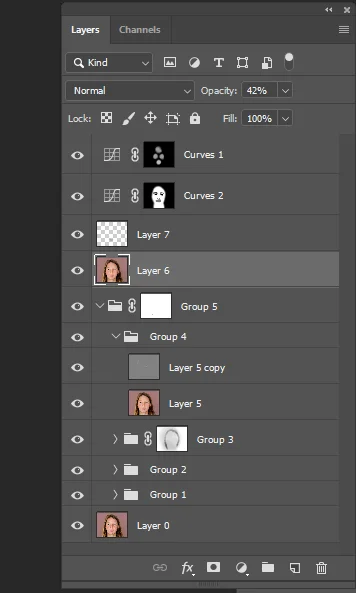
Once you have verified that all the layers are unlocked and visible. Select any layer from the Layers panel.
Step 4: Click Right Button and Select Flatten Image
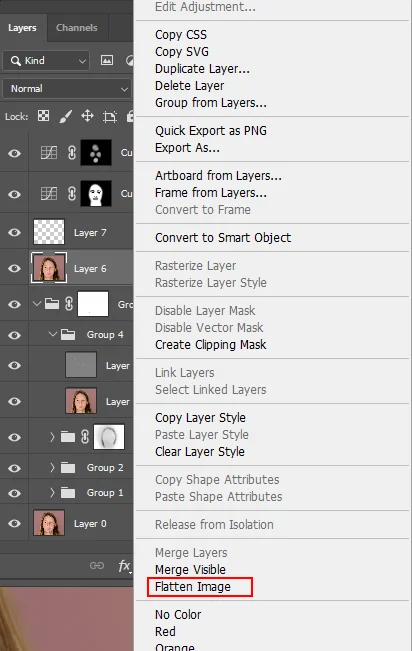
To flatten the image, all you need to do is go to the Layers panel, right-click on any layer, and select the option “Flatten Image”.
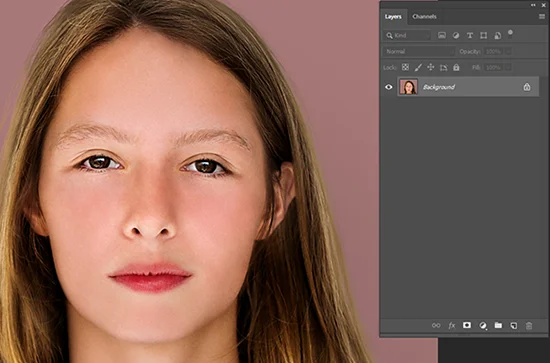
Now, your image is flattened, and all layers have been merged into one. Below is an example.
Step 5: Save Your Flattened Image
After flattening the image, only a single layer will remain in your Layers panel. Now, you can save your flattened image by going to ‘File’ and selecting ‘Save As’.
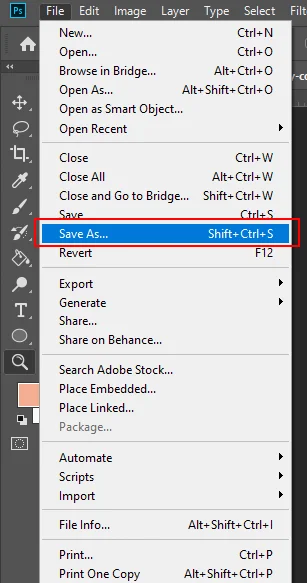
Note: It’s important to note that flattening an image will merge all layers into a single layer, which can result in the loss of transparency. Additionally, once the layers are merged, you won’t be able to undo changes to individual layers. Therefore, it’s always better to save a PSD file before flattening your image.
What’s The Difference Between Merge And Flatten?
In Photoshop, “Flatten” and “Merge” are two different commands that have different effects on your image:
Flatten: Flattening an image merges all the layers into a single layer. This means that all the adjustments and edits you’ve made on each layer are combined into one final image. The layers panel will show only one layer after the flattening is complete.
Merge: Merging layers combines multiple layers into one new layer. This means that the selected layers are combined into a new layer, and the original layers are still present in the Layers panel. You can merge layers by selecting the layers you want to merge and then using the “Merge Layers” command.
The Benefits Of Flattening image in photoshop
There are several benefits to flattening an image in Photoshop:
Reducing file size: When you flatten an image, all the layers are merged into one, which can reduce the file size of the image. This can be especially helpful if you are working with a large image or if you need to send the image to someone else.
Avoiding potential issues: Sometimes, if you have a lot of layers in your image, it can cause performance issues or slow down your computer. Flattening the image can help avoid these potential problems and make your work process smoother.
The Limitations of Flattening Images in Photoshop
Flattening an image can also have some drawbacks, such as losing the ability to edit individual layers or losing transparency in the image. Therefore, it’s important to consider the benefits and drawbacks before flattening an image, and to always save a copy of the original PSD file before making any changes.
How do I flatten an image in Photoshop while keeping a transparent background?
If you are trying to flatten an image in Photoshop while keeping a transparent background, do not flatten it. Instead, delete the background layer and save the image as a PNG file.


