When I first started my journey as a photo editor, I directly dove into editing the original images. Later on, I came to realize the importance of being able to backtrack to specific points or parts in the editing process. Unfortunately, I failed to return to those specific stages where I wanted to go back and reedit certain parts, leaving me frustrated and longing for a better solution.
Fortunately, I learned about non-destructive editing, and it significantly improved my life and workflow. This transformative process allowed me to safeguard the original image data while having the flexibility to make separate editing steps as needed. I could easily re-edit any part or delete modifications without any hassle. With non-destructive editing, I gained the freedom to retouch, adjust colors, fix exposure issues, remove unwanted objects, reduce wrinkles, adjust levels, apply overlays, and perform a multitude of other editing tasks.
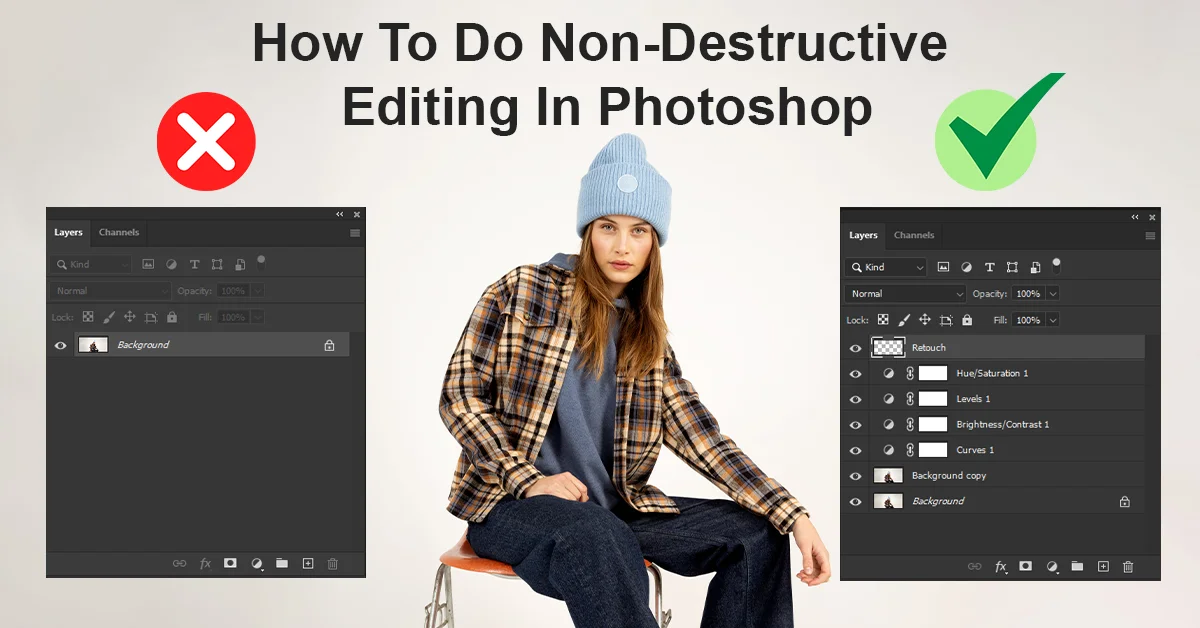
What Is Non-Destructive Editing In Photoshop?
Non-Destructive Editing in Photoshop refers to a technique that lets you make changes to an image without permanently altering the original data. This means you can edit your image using multiple separate steps while preserving the integrity of the original file. For example, you can use different layers for adjustments such as levels, curves, color adjustments, retouching, and removing unwanted objects. This method allows you to have complete control over each element of your Editing, enabling you to make edits whenever necessary.
How To Do Non-Destructive Editing?
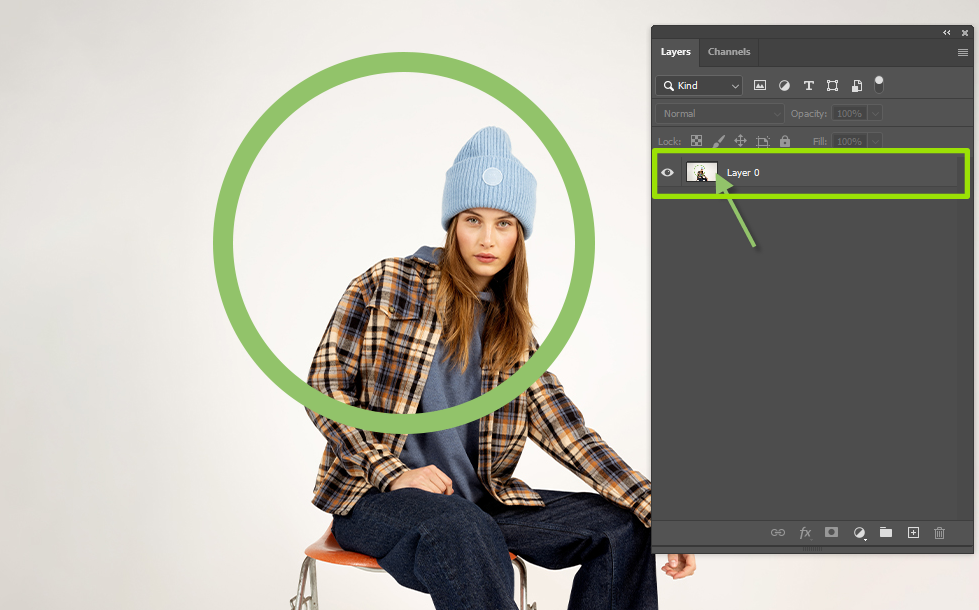
I added a stroke to my image on the same layer as my original image. Now, I want to move the stroke, but I can’t because it’s a destructive editing method. There is no separate layer for the stroke, which limits my ability to adjust its position independently.

The problem arises when I try to reposition the stroke since it is within the same layer as the entire image. As a result, when I attempt to move the stroke, the entire image moves along with it.
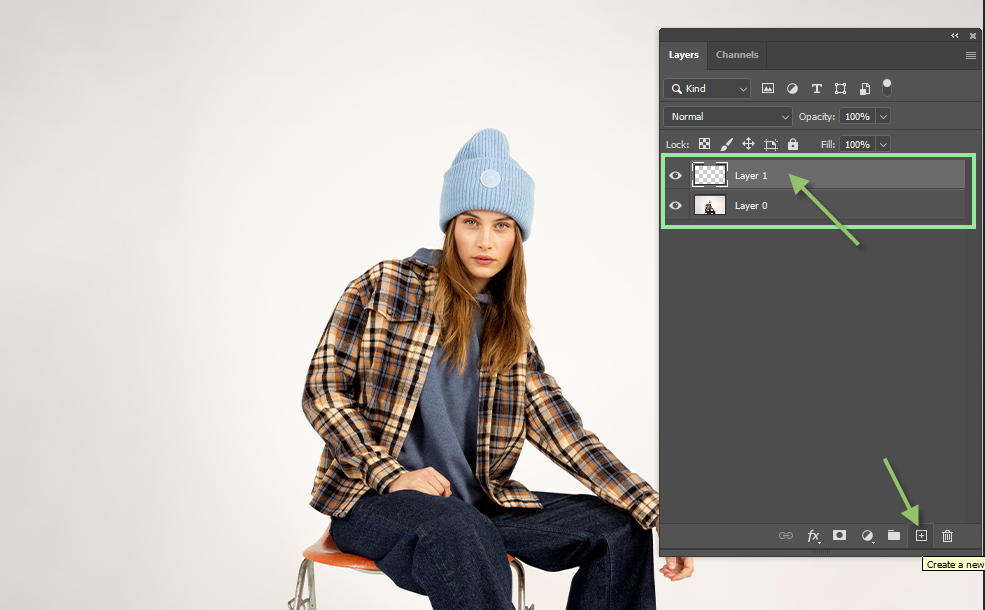
I added a new layer by clicking on the “+” icon at the bottom of the panel, and the new layer appeared above the currently selected layer.
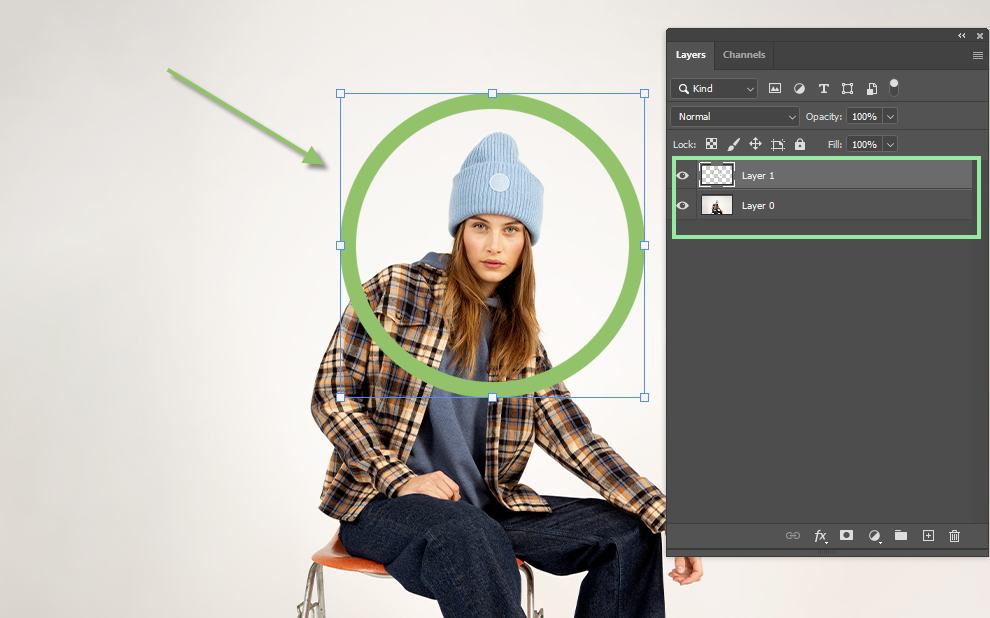
I added a new stroke on a new layer, and now you can see that I can easily reposition it or even delete it if desired. This is an example of non-destructive editing in Photoshop, which is a professional approach to image editing. One fascinating aspect is that you can edit it later by simply saving the file as a PSD or TIFF format. This way, you can revisit and make further edits whenever you need to.
Tips for non-destructive editing in Photoshop
Use Adjustment Layers
To make edits to your image without permanently altering the original, utilize adjustment layers. This allows you to modify aspects like levels, curves, color balance, and more. To create a new adjustment layer, click on the marked icon in the layer panel.

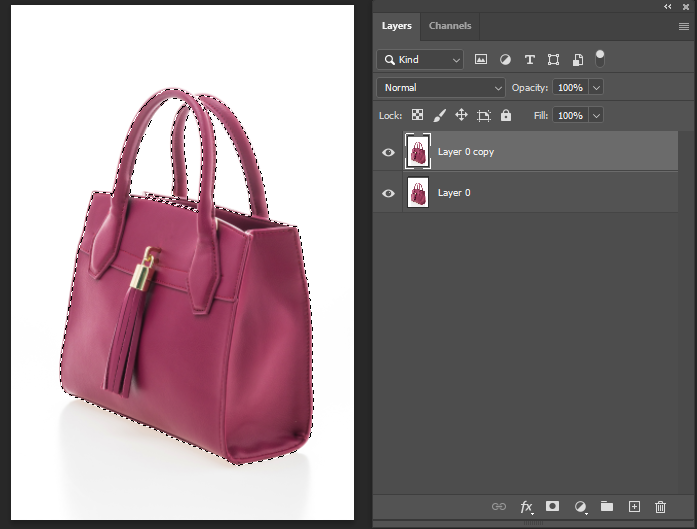
Selections And Layer Masks
Most people use Photoshop for tasks like removing backgrounds from images or replacing them. In such cases, layer masks are a valuable tool for non-destructive editing. By utilizing layer masks, you can selectively apply adjustments to specific areas of your image. This provides you with precise control over where the edits are applied and where they are masked out.
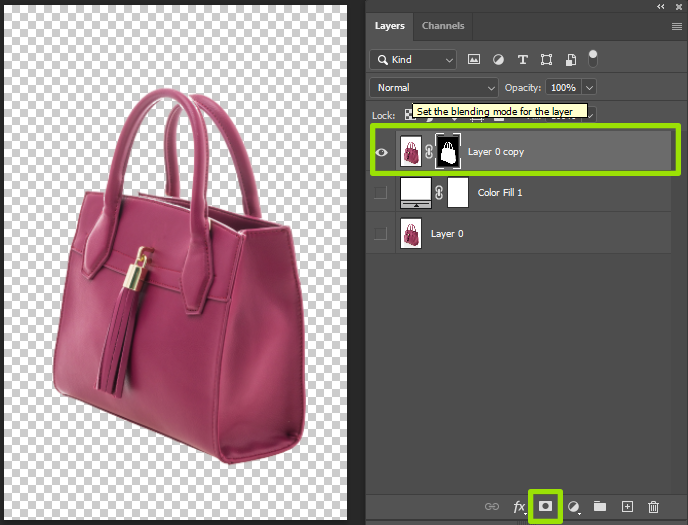
After applying the layer mask, the background has become transparent. Now, you can add a solid color or gradient color layer beneath the masked layer. This allows you to easily change or customize the background color as desired.
Smart Objects for Flexibility
Another powerful feature for non-destructive editing is Smart Objects. You can convert layers or groups of layers into Smart Objects by right-clicking on the layer(s) and selecting “Convert to Smart Object.” Smart Objects preserve the original data, allowing you to apply filters, adjustments, and transformations without permanently altering the pixels. You can edit the Smart Object at any time and the changes will be automatically updated in the main composition.

Adjustment Layer Blend Modes and Opacity:
Adjustment layers have blend modes and opacity settings that affect how they interact with the layers below. Experimenting with different blend modes can produce unique effects. Similarly, adjusting the opacity of the adjustment layer allows you to control the intensity of the applied effect.
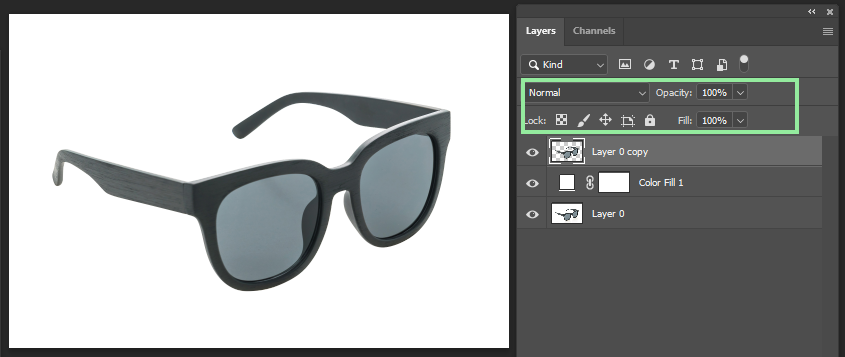
The Adjustment Layer Blend Modes and Opacity can be found in the Layers panel, right above the layer thumbnail of the adjustment layer. By default, the Blend Mode is set to “Normal” and the Opacity is set to 100%. You can click on the dropdown menu next to “Normal” to access different blend modes and choose the one that suits your editing needs. Adjusting the Opacity slider allows you to control the transparency or strength of the adjustment layer’s effect on the underlying layers.
Duplicate Your Background Layer
Whenever you start working on a new project or image in Photoshop, it’s always a good habit to create a duplicate layer of the main layer. This practice helps protect the original image data and anything you do within the duplicate layer. By saving the original image data securely, you can avoid any unintentional changes and easily revert back to the original state if needed.
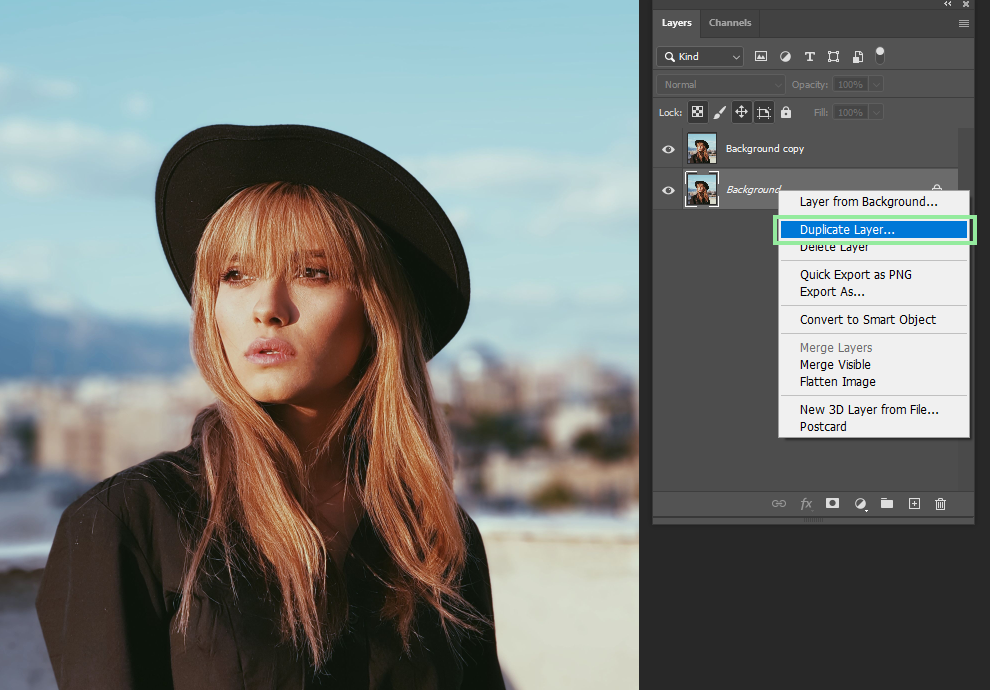
To duplicate a layer in Photoshop, simply select the layer you want to duplicate and right-click on it. Then, choose “Duplicate Layer” from the menu that appears. You can also use the shortcut Ctrl+J (Windows) or Command+J (Mac) to quickly duplicate the layer.
Save as PSD or TIFF
No matter how many layers you have used for separate edits in your project, if you save your image as a JPG, you will lose all the layers. To preserve your non-destructive edits, make sure to save your file as a PSD or TIFF. These formats retain all your edits and layer structure, allowing you to make further adjustments to any part of the image by opening the PSD or TIFF file.
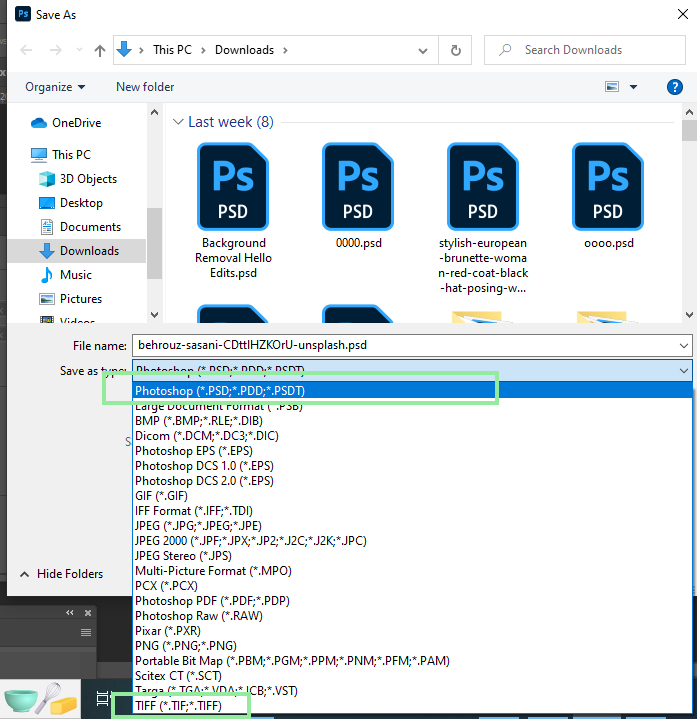
To save your image as a PSD or TIFF file in Photoshop, go to the “File” menu and choose “Save As” or “Save As Copy.” In the dialog box that appears, select the destination folder and enter a filename. Then, in the format options, choose either “Photoshop (PSD)” or “TIFF (TIF)” based on your preference. Finally, click “Save” to save your image in the selected format. This ensures that all layers and editing capabilities are preserved, allowing for future modifications.
Destructive vs. Non-Destructive
Permanent Changes: Destructive editing involves directly modifying the original image or data, resulting in irreversible alterations. Any edits made directly to the image affect the original pixels, making it challenging to revert or undo changes.
Limited Flexibility: Destructive edits restrict the ability to fine-tune or modify specific elements of the image after the initial changes have been applied.
Preserves Original Data: Non-destructive editing maintains the integrity of the original image or data, ensuring that it remains unaltered. Edits are stored separately from the original pixels, preventing any permanent modifications.
Edit Flexibility: Non-destructive editing techniques, such as adjustment layers, masks, and smart objects, provide the flexibility to modify and refine edits at any stage of the editing process without affecting the original data.
The Bottom Line
Non-destructive editing is a crucial skill for anyone using Photoshop for their projects, regardless of how much of a perfectionist they may be. It’s inevitable to make mistakes during the editing process, and that’s where non-destructive editing becomes invaluable. It allows you to create a perfect end result while keeping the flexibility to make future changes easily. This skill truly becomes a game changer in your editing abilities, empowering you to achieve professional and re-editable results.