Every photographer knows that achieving outstanding results in product photography requires a proper lighting setup. Even with an expensive camera, the absence of appropriate lighting can hinder your final output. If you possess photography skills, two essential factors contribute to the best product photography results: setting up lighting in the right way and utilizing the best product photography camera.
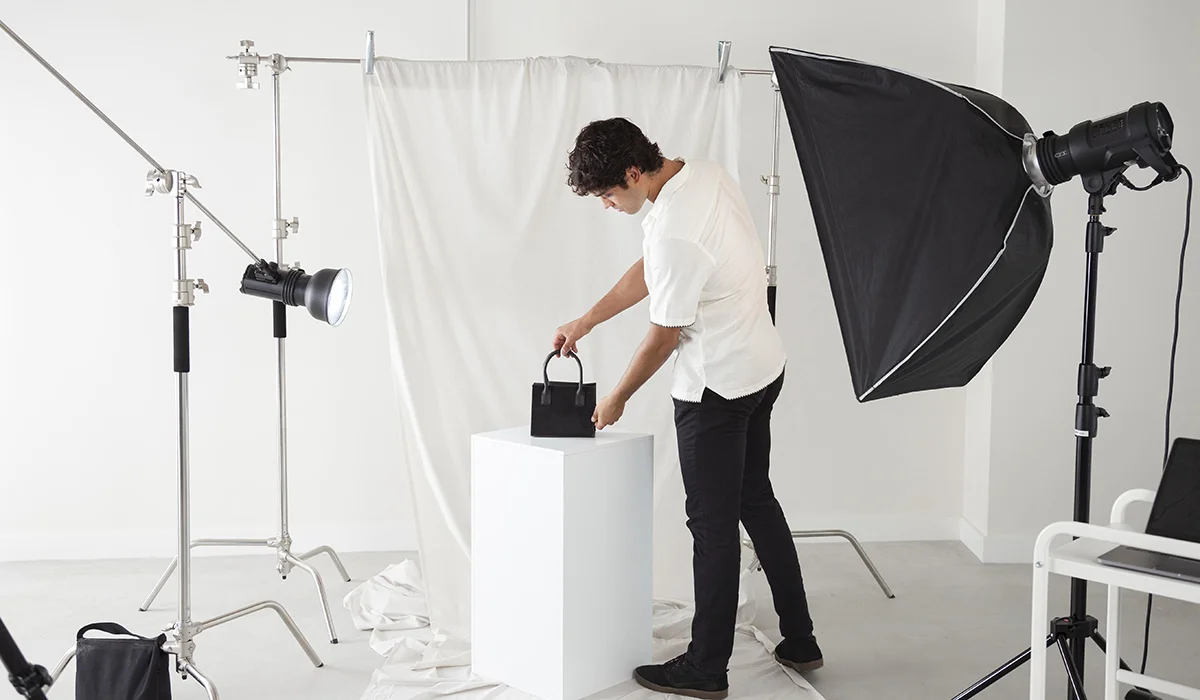
Professional photographers employ various common lighting setup techniques to achieve optimal results, and the 3-light setup for product photography is one of them. If you’re a beginner photographer, this lighting arrangement can greatly enhance your photo captures. The setup typically involves three lights: a frontal light (Key), a side light (Fill), and a backlight.
Let’s dive in to learn how to set up product photography lighting perfectly.
What lights do you need for product photography?
In the world of product photography, photographers often employ different lighting methods to achieve their desired results. The number of lights used can vary, with options ranging from a single-light setup to two or three lights, all dependent on individual preferences and budget considerations. Whether you opt for the soft glow of natural light or the controlled brilliance of a softbox, each lighting approach has the potential to yield exceptional photographs when executed skillfully.
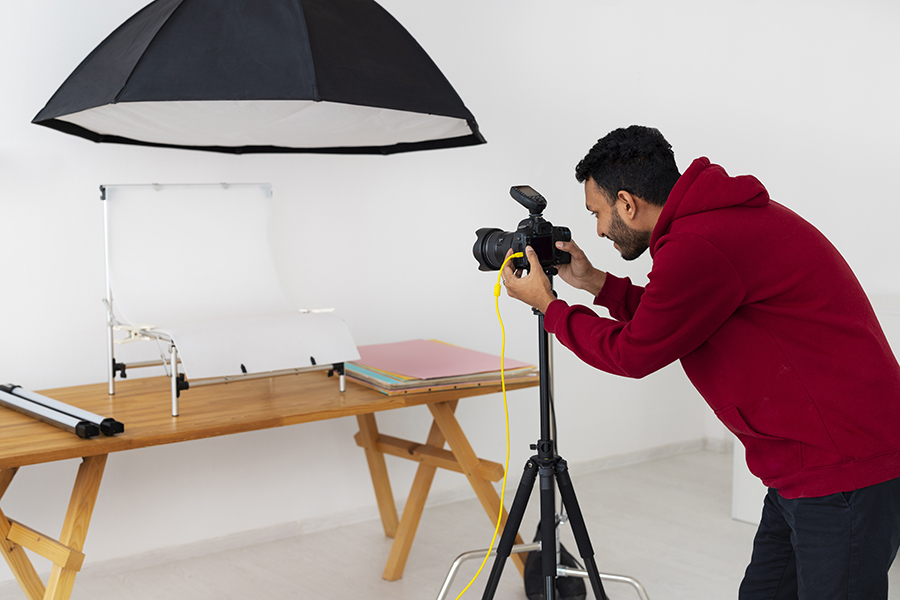
Two-Light Setup For product Photography
A two-light setup gives you greater control over the overall lighting balance. One light serves as the main source, illuminating the subject, while the second light, often placed at a lower intensity, serves to fill in shadows and provide a more even illumination.
This setup helps to reduce harsh shadows and create a well-rounded, polished look. Photographers often use this method for products that require a more comprehensive representation while maintaining a sense of depth and dimension.
Three-Point Lighting Setup for Product Photography
Utilizing a proper three-point lighting setup is a time-honored technique for infusing photography and videography with depth, texture, and captivating visuals. This is where the concept of three-point lighting comes into action – a technique that holds the potential to elevate your photography from the ordinary to the extraordinary.
What Is Three-Point Lighting?
Three-point lighting is a fundamental lighting setup used in photography, cinematography, and videography. It involves strategically placing three primary lights around the subject to achieve balanced and captivating illumination.
Key Light– The key light is the primary source of illumination. It’s positioned at a 45-degree angle to the subject, casting light on one side of the face or object. This light defines the subject’s shape and forms the base of the lighting setup.
Fill Light– The fill light is placed on the opposite side of the key light, softening the shadows created by the key light. It helps to balance the contrast between light and shadow, creating a more natural and pleasing appearance.
Backlight- The backlight, also known as the rim light or hair light, is positioned behind the subject, aiming at its back. This light separates the subject from the background, adding depth and dimension. It creates a halo effect around the subject, making it stand out and enhancing its contours.
How to Set Up Three-Point Lighting?
Setting up three-point lighting requires careful positioning and control of each light source. Here’s a step-by-step guide to help you achieve this classic lighting arrangement:
Key Light Placement: Position the key light at a 45-degree angle from the subject. This angle produces appealing shadows and highlights that define the subject’s shape. Adjust the height and distance to achieve the desired level of illumination.
Fill Light Placement: Place the fill light on the opposite side of the key light, mirroring its angle. This light should be less intense than the key light to soften shadows without eliminating them completely.
Backlight Placement: Position the backlight behind the subject, aiming toward its back. This creates separation between the subject and the background, adding depth to the image. Adjust the intensity to prevent overexposure.
Adjust Light Intensity: Experiment with the intensity of each light to achieve the desired level of contrast and mood. The key light is usually the brightest, followed by the fill light, and then the backlight. Consider using diffusers and reflectors to shape and control the light further. Diffusers soften and spread the light, while reflectors bounce light to fill in shadows.
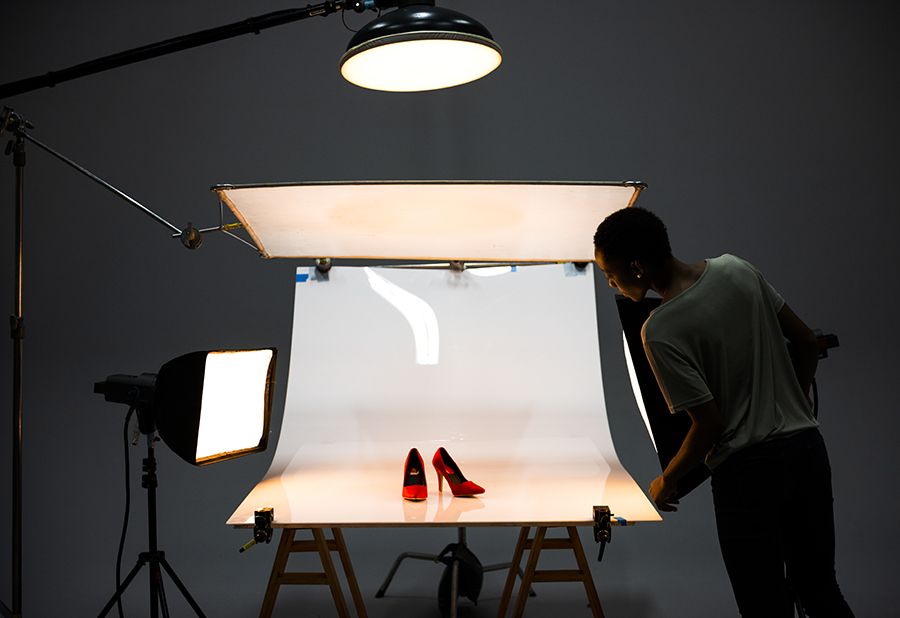
Single-Light Setup for Product Photography
A single-light setup is a minimalist approach that can yield stunning results when used strategically. By focusing on a sole light source, photographers can create dramatic shadows and highlights that add depth and character to their product shots. Positioning the light at an angle can emphasize textures and contours, creating an alluring interplay of light and shadow. This approach is particularly useful when working with a limited budget or a desire for a more artistic and moody effect.
What lighting should I use for product photography?
When it comes to setting up lighting for product photography, continuous softbox lights and a reflector emerge as excellent choices. However, the selection of suitable lighting depends significantly on the specific requirements of your project, the intended outcome, and the available resources. Here are several lighting options to contemplate:
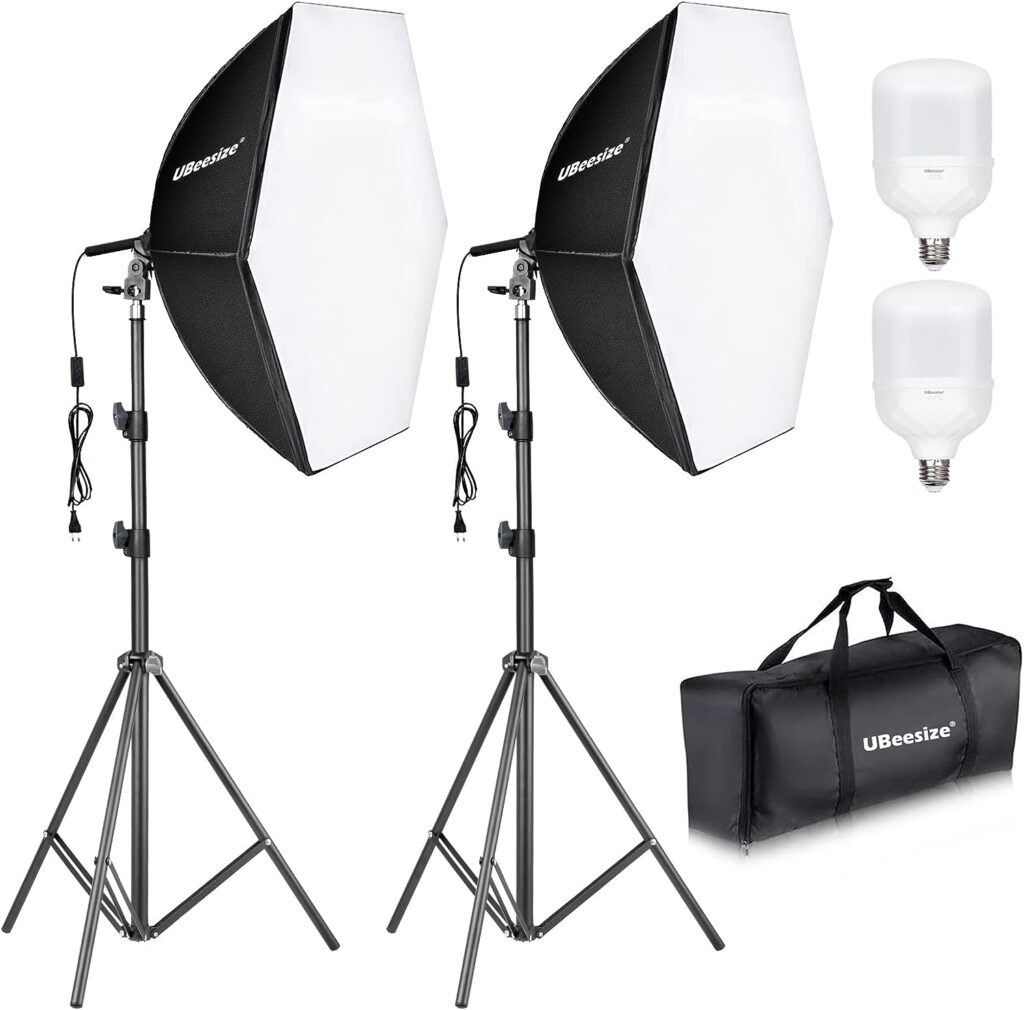
Softboxes and Continuous Lights:
Softboxes, coupled with continuous lights, create a winning combination for achieving exceptional product photography results. Softboxes diffuse light, producing a gentle, even glow that highlights details and reduces shadows. Paired with continuous lights, these tools offer real-time adjustments, making them suitable for both beginners and professionals.
The soft, controlled illumination provided by this duo is especially effective for capturing textures and enhancing the visual appeal of products. Whether you’re photographing jewelry, cosmetics, electronics, or fashion items, the combination of softboxes and continuous lights is a go-to choice to illuminate your subjects flawlessly.
Ring Lights:
While I personally don’t favor using a ring light for product photography, it’s worth noting that a high-quality ring light can indeed be utilized for this purpose. Ring lights are particularly well-suited for creating portrait photos or videos, making them an excellent choice for livestreaming or producing short videos for social media. Additionally, ring lights can be especially effective in beauty and fashion photography, adding a captivating halo effect to your subjects.
Backlights and Accent Lights:
Backlights are placed behind the subject to separate it from the background and create a sense of depth. Accent lights add highlights to specific parts of the product, enhancing its features.
When deciding on the lighting for your product photography, consider factors such as the size and type of product, the desired mood, and the level of control you need over the lighting environment. Additionally, keep in mind your budget and the learning curve associated with different lighting setups.
Final Thoughts
When it comes to product photography lighting, thorough preparation is essential, particularly in determining the type of product you plan to shoot. While numerous lighting setups exist, professional photographers often gravitate towards common methods. Two-light and three-light setups are popular choices in product photography. Furthermore, before embarking on your actual production work, it’s crucial to experiment with lighting and camera settings. That concludes our discussion for today!