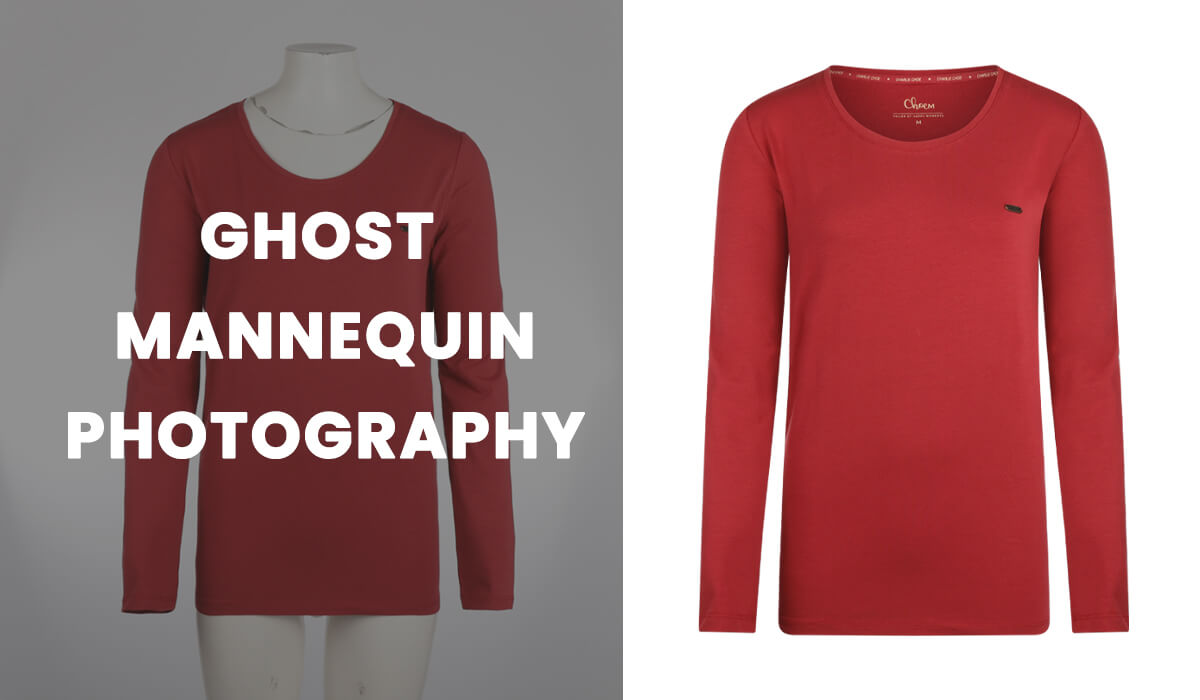
The demand for Ghost Mannequin Photography is on the rise, and this technique is a cost-effective solution for photographers and apparel retailers. This technique proves to be a savvy alternative to traditional model-based photography. However, mastering both ghost mannequin photography and editing techniques is crucial for optimal results.
Learn more about the Hello Edits ghost mannequin service for photographers, or continue reading to learn how to shoot clothing photos on a mannequin and create the 3D mannequin effect yourself.
To achieve outstanding results in ghost mannequin photography, beginner photographers need to learn several essential steps for effective post-production. Follow these simple steps to be an expert in ghost mannequin photography and editing.
How to do Ghost Mannequin Photography
1. Selecting Mannequin or Model
The first step is to use models or mannequins to photograph clothing. Choosing a mannequin can save time and photography costs. If you are a photographer, it’s better to buy two mannequins (a men’s mannequin and a women’s mannequin). This allows you to use them whenever you need to photograph either men’s or women’s clothing.
2. Equipment Setup
It is essential to set up lighting and the studio perfectly. Use two lights, an umbrella, and a white backdrop. A white backdrop facilitates easy separation of the background from the product. It is crucial to capture high-quality, clean photos that will simplify the next step in achieving the best ghost mannequin effect.
3. Photographing the Product
An invisible ghost mannequin image is created by combining two or more images. Typically, we merge the front image of the clothing product with a composite image. When we separate the cloth from the mannequin or model, the image looks incomplete due to the missing area covered by the mannequin or model in the photo. To fill this gap, we use composite images, creating a complete photo by merging the main image with the composite image.
4. Post-production processing
After you capture the necessary images for the Invisible ghost mannequin effect, it’s time to work some magic in Adobe Photoshop. You can either do it yourself or use ghost mannequin service providers like Hello Edits.
4.1 Open images in Photoshop
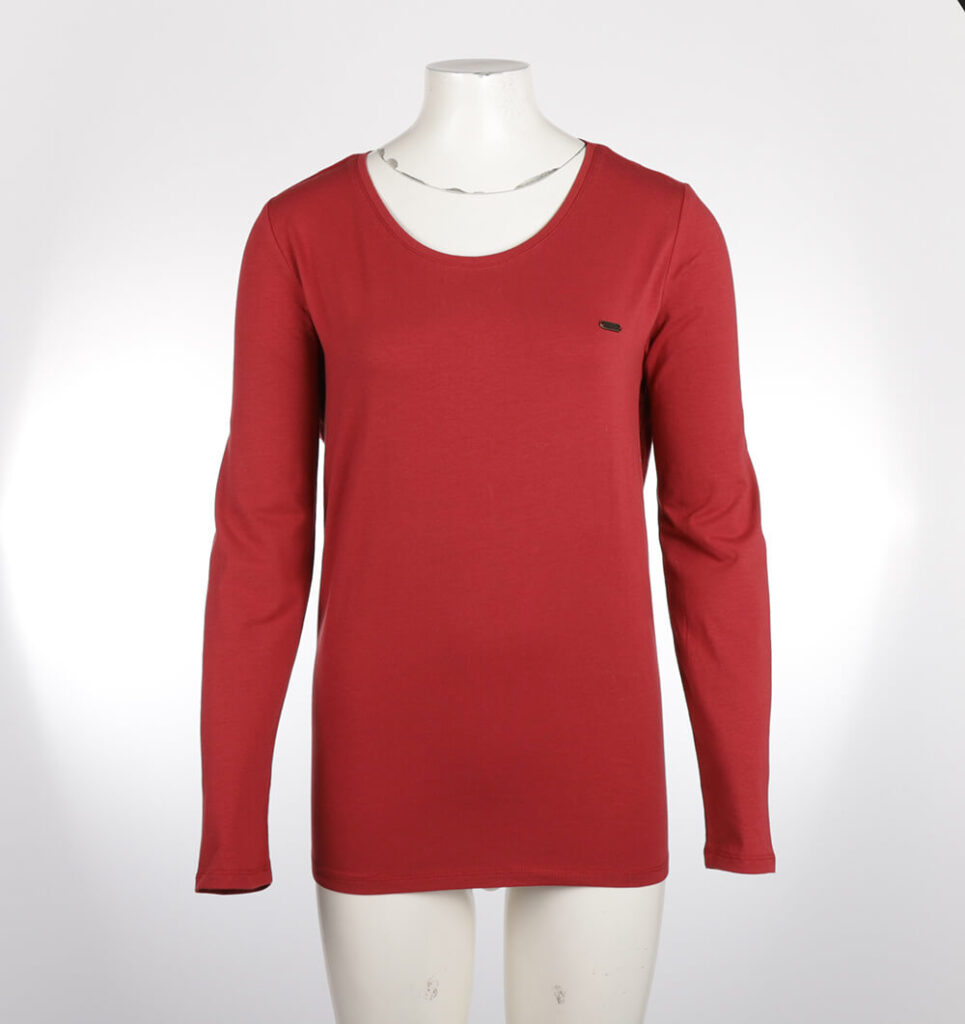
Open the front view product image in Photoshop and create a duplicate layer. Use the Move Tool (V) to align the image perfectly. You can use a guideline to ensure it is 100% aligned.
4.2 Select the product in the mannequin image
Now, we need to select only the cloth in the photo and remove the mannequin along with the background. To achieve this, use the Photoshop pen tool or masking methods to distinguish the product from the mannequin and the background.
Alternatively, you can use Photoshop quick selection, lasso, or magic wand tools for a quicker process. After selecting the product, make a copy of the selected part and paste it onto a new layer.
4.3 Refine, Retouch wrinkles and Liquify
Now, refine and liquify your cloth to make it nice and tight. Experiment with it until you achieve a pleasing shape with an appealing appearance. Reduce wrinkles and remove spots from the cloth.
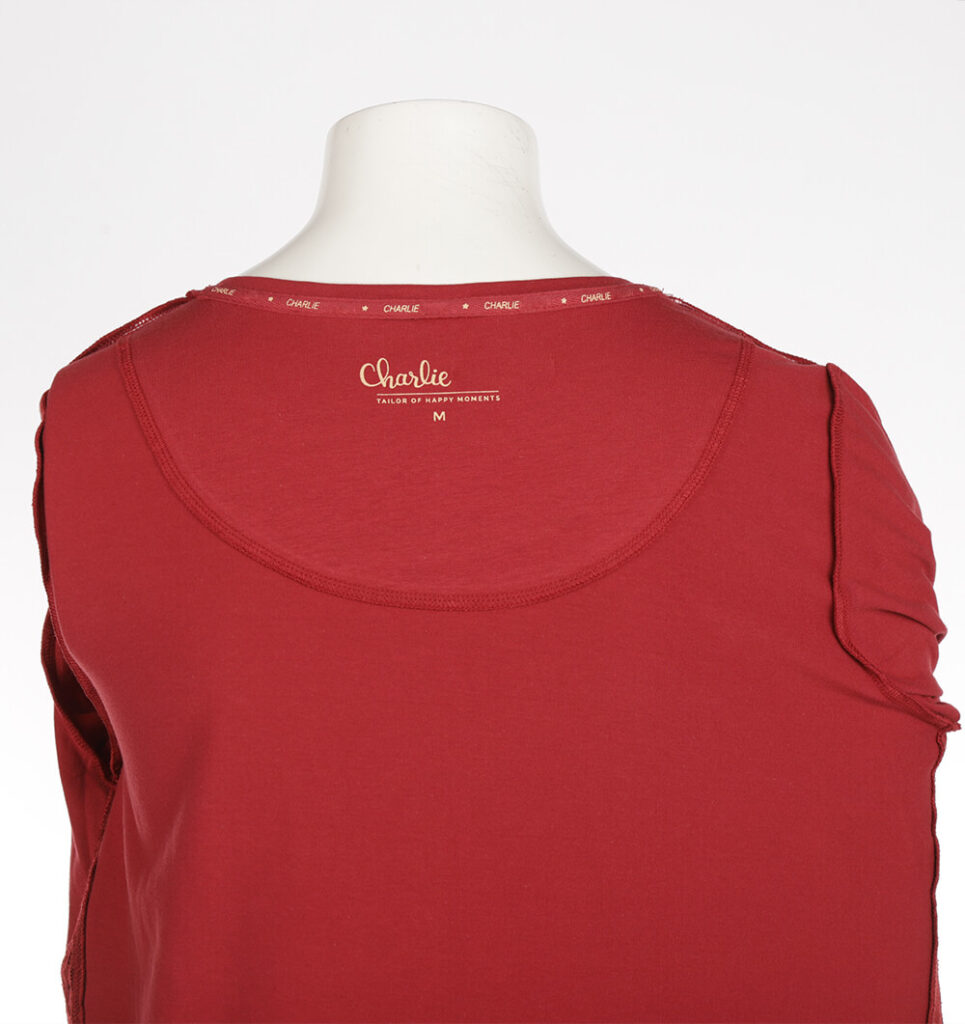
4.4 Combine it with the composite image
Open the composite image and position it below the front view layer. Apply liquify adjustments and retouching to seamlessly fill in the missing portions and enhance the overall image.
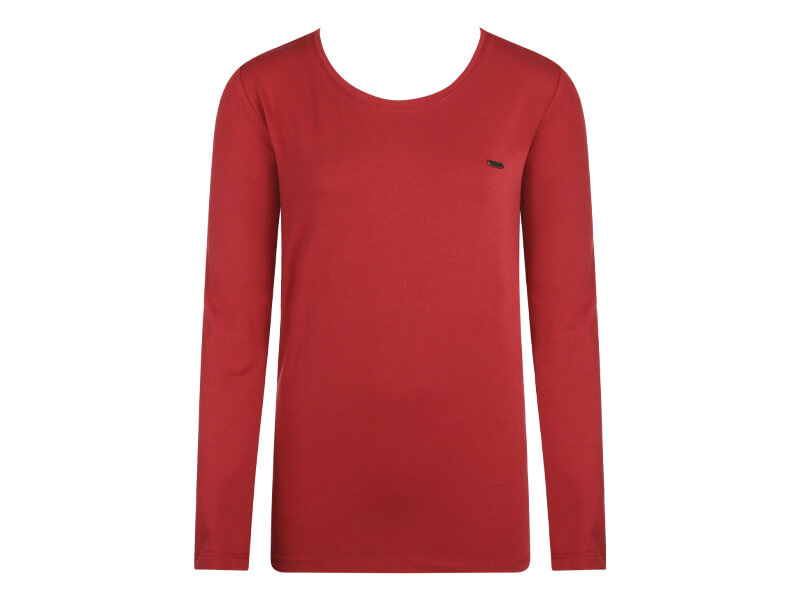
4.5 Add shadow
To achieve a more realistic appearance, it is essential to incorporate shadows within the neck’s interior where the composite parts are joined. This will blend the inside and front views smoothly, making the whole thing look better.

Mannequin vs Model : Which Produces More Sales?
Choosing between a model and a mannequin in the clothing business depends on various factors. While both options have pros and cons, using a model helps showcase how the clothes fit a person. On the other hand, ghost mannequin photography provides a view of how the clothes look when worn, giving customers a realistic perspective. It is a widely used and excellent alternative to model clothing photography for showcasing clothing products.
- Mannequins provide a consistent look for all products, ensuring a cohesive and professional appearance across the website.
- Mannequins direct the viewer's attention solely to the clothing item, without any distractions.
- Using mannequins is generally more cost-effective than hiring models.
- Mannequins may not convey how the clothes fit a real person, and customers might find it harder to visualize the fit.
- Mannequins don't convey emotions or tell a story as effectively as models.
- The visual content may appear less dynamic compared to models.
- Models can convey emotions and help tell a story, creating a connection between the product and the customer.
- Models can showcase different poses, angles, and movements, making the product presentation more dynamic.
- Models can showcase how the clothes fit on a real person, giving customers a better idea of how the garment might look on them.
- Hiring models, photographers, and makeup artists can be more expensive than using mannequins.
- Different models may showcase the same garment differently, leading to inconsistency in product presentation.
- Organizing and conducting photoshoots with models can be time-consuming.
Ultimately, the decision should align with your brand’s identity, target audience preferences, and the type of products you sell. Many successful online clothing retailers use a combination of both models and mannequins strategically to showcase their products.