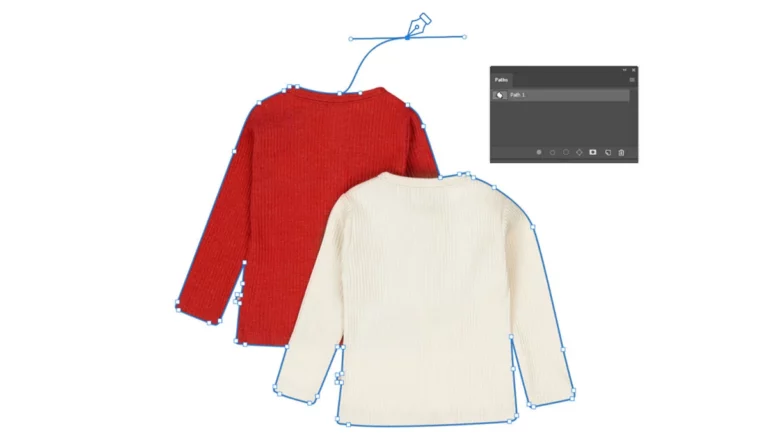
You have two options for creating a clipping path In InDesign either through the Clipping Path option in the Object menu or by drawing a path using the Pen tool.
Clipping path in InDesign.
If you’re working with images in InDesign, you may want to use a clipping path to control the shape of an image. A clipping path is a vector outline that can be used to mask out parts of an image, allowing you to control which parts of the image are visible.
Step 1: Open the Image in InDesign
The first step is to open the image you want to clip in InDesign. You can do this by choosing “File” > “Place” and selecting the image from your computer.
Step 2: Select the Image with the Selection Tool
Use the Selection tool (black arrow) to select the image you want to clip. Go to the “Object” menu and choose “Clipping Path” and then “Options”.
Step 3: Select "Detect Edges" Under "Type"
In the “Clipping Path Options” dialog box, select “Detect Edges” under “Type”. This will automatically create a clipping path based on the edges of the image.
Step 4: Adjust the Settings
Adjust the settings as needed. You can adjust the “Tolerance” to control how closely the clipping path follows the edge of the image. The higher the tolerance, the more closely the clipping path will follow the edges of the image. Now, apply the clipping path by clicking “OK” to apply the clipping path.
To check the clipping path, choose “Preview” from the “View” menu. This will show you the image with the clipping path applied.
If the clipping path needs to be edited, you can use the Pen tool or Direct Selection tool to make adjustments. You can also choose “Edit Clipping Path” from the “Object” menu to make changes.
Step 4: Export Image
To export the image with the clipping path, choose “File” and then “Export”. In the Export dialog box, select a format that supports clipping paths, such as EPS or TIFF, and check the box for “Clipping Path”.
Conclusion
Clipping paths are a powerful tool for controlling the shape of an image in InDesign. By following these simple steps, you can create a clipping path that will allow you to control which parts of the image are visible. With a little practice, you’ll be able to create precise and accurate clipping paths that will enhance your designs and make your images stand out.


