Skip to content
Home
Services
Background Removal
Clipping Path
Ghost Mannequin
Photo Retouching
Color Change
Shadow Creation
Image Masking
Pricing
Portfolio
Blog
Home
Services
Background Removal
Clipping Path
Ghost Mannequin
Photo Retouching
Color Change
Shadow Creation
Image Masking
Pricing
Portfolio
Blog
Free Trial
Get a Quote →
Author:
Ariful I Evan
Photography
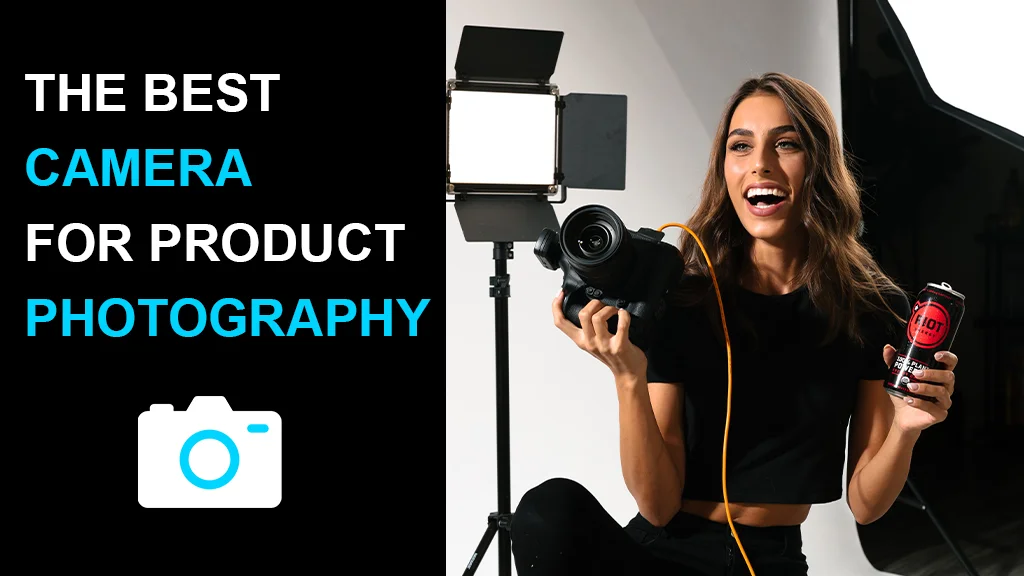
5 Best Cameras for Product Photography in 2023
Photoshop
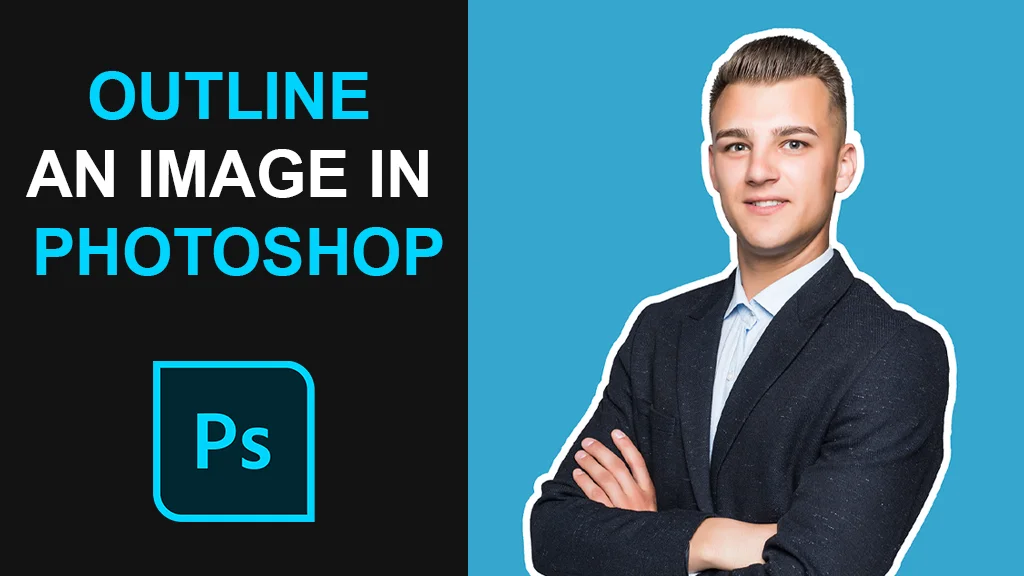
How To Outline An Image In Photoshop in 2023
Photoshop
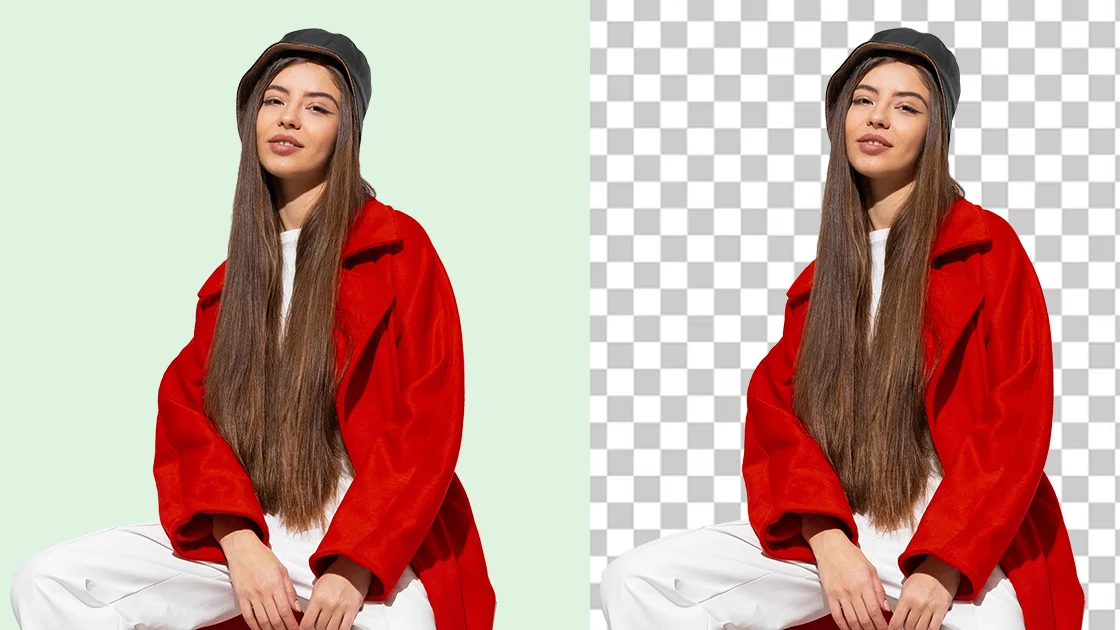
How To Make A Transparent Background (Easy Methods)
Photoshop
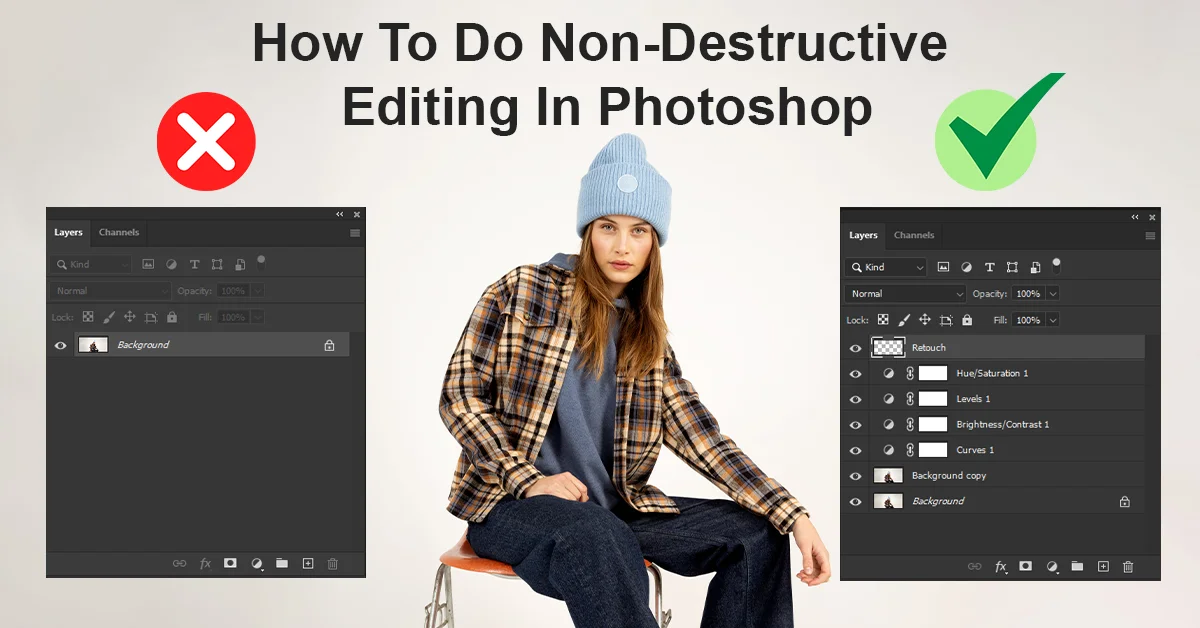
How to do Non-Destructive Editing in Photoshop
Photoshop
How to Extend a Background in Photoshop (Easy Methods)
Ecommerce
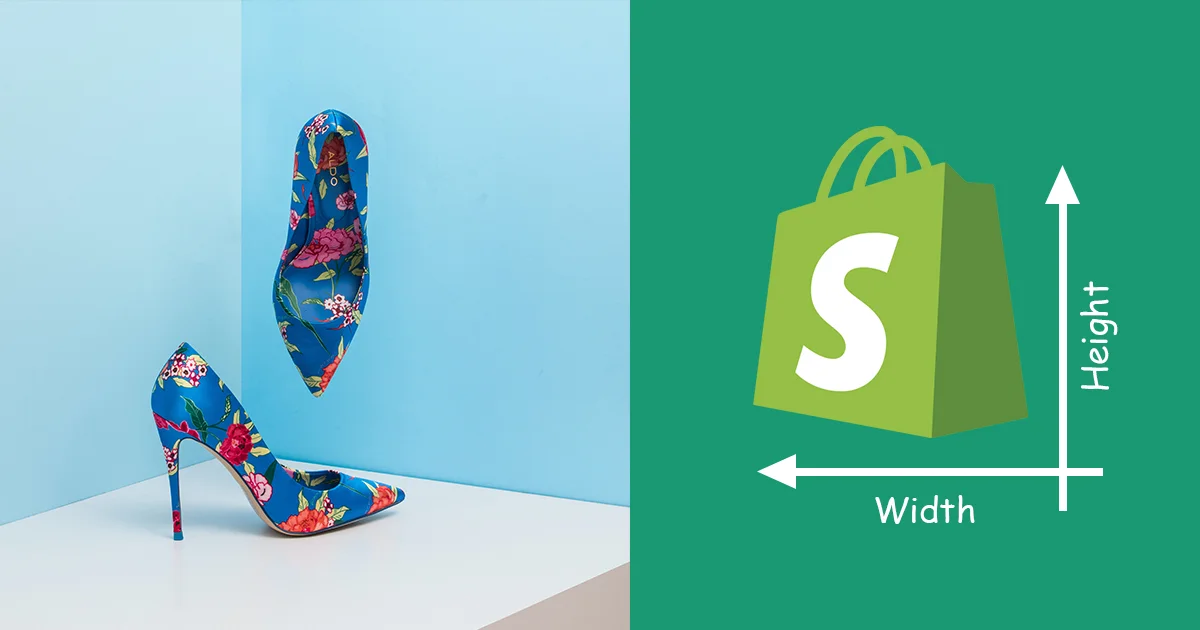
Best Shopify Product Image Size in 2023
Photography
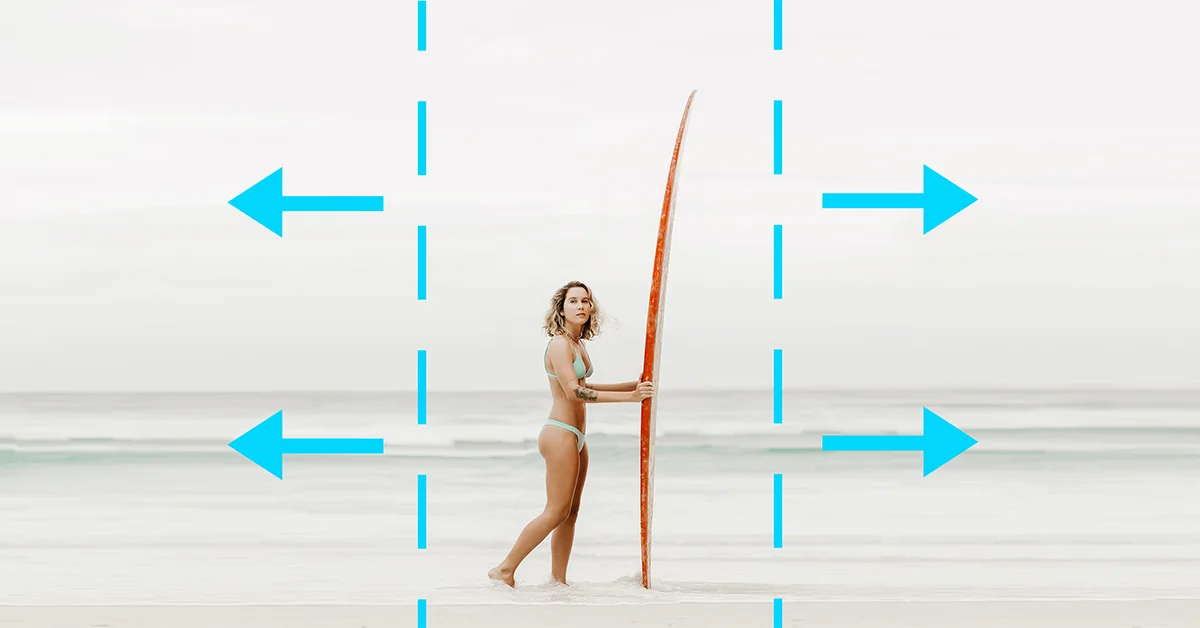
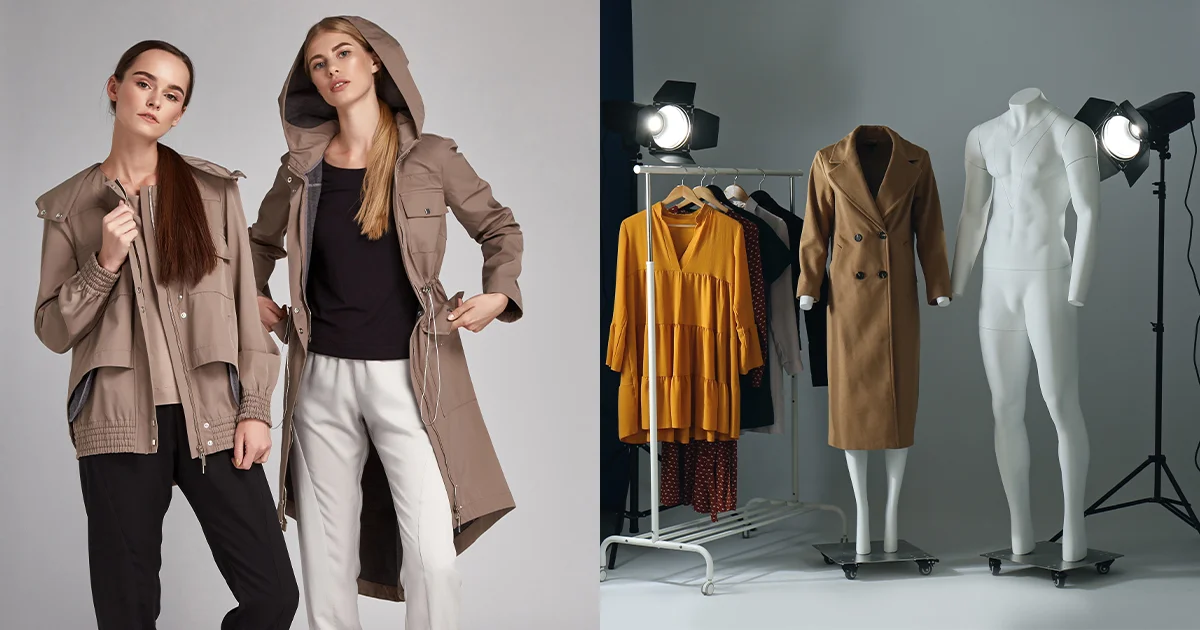
How To Take Pictures Of Clothes To Sell: Clothing Photography
Photoshop
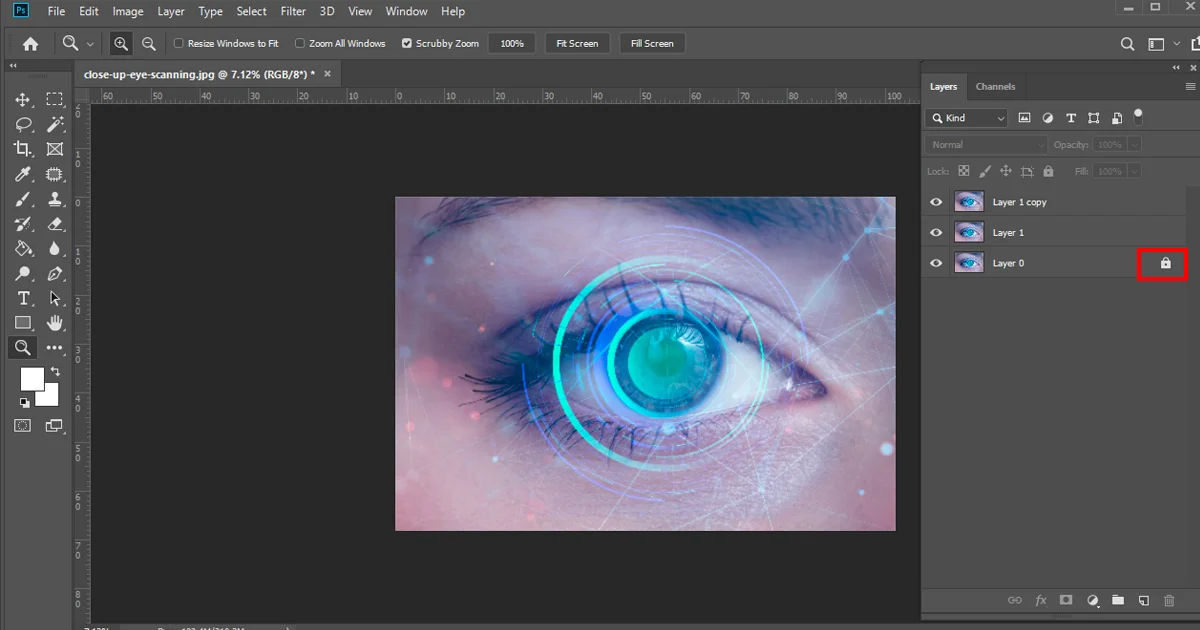
How to Unlock a Layer in Photoshop [Update 2023]
Photoshop
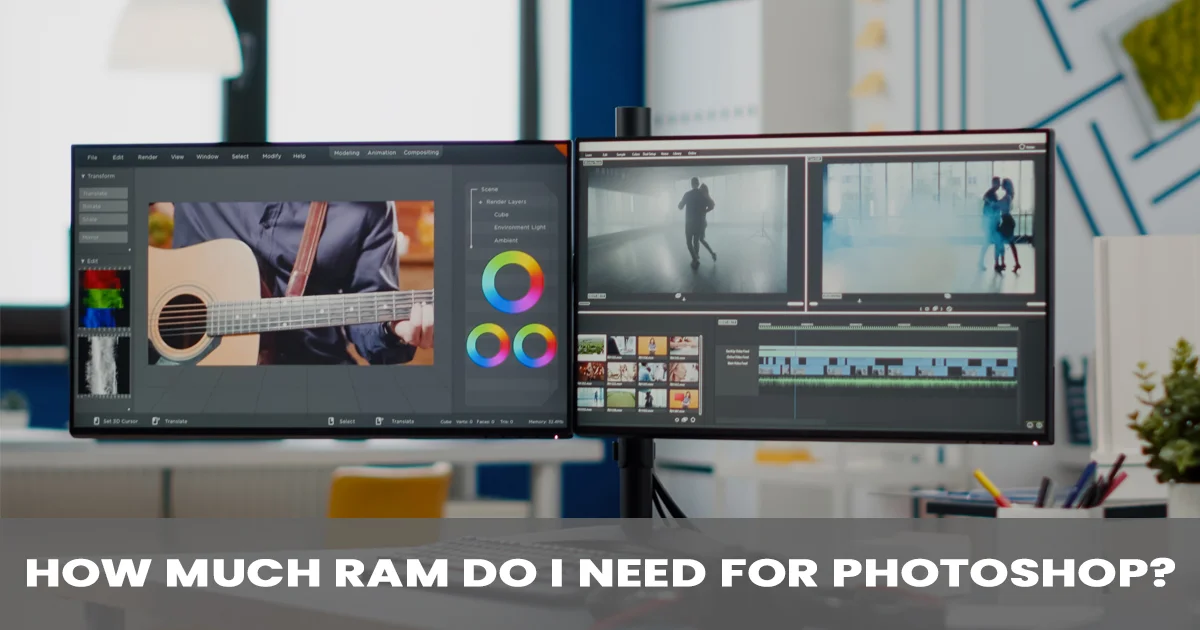
How Much RAM For Photoshop? System Requirements For 2023
Photography
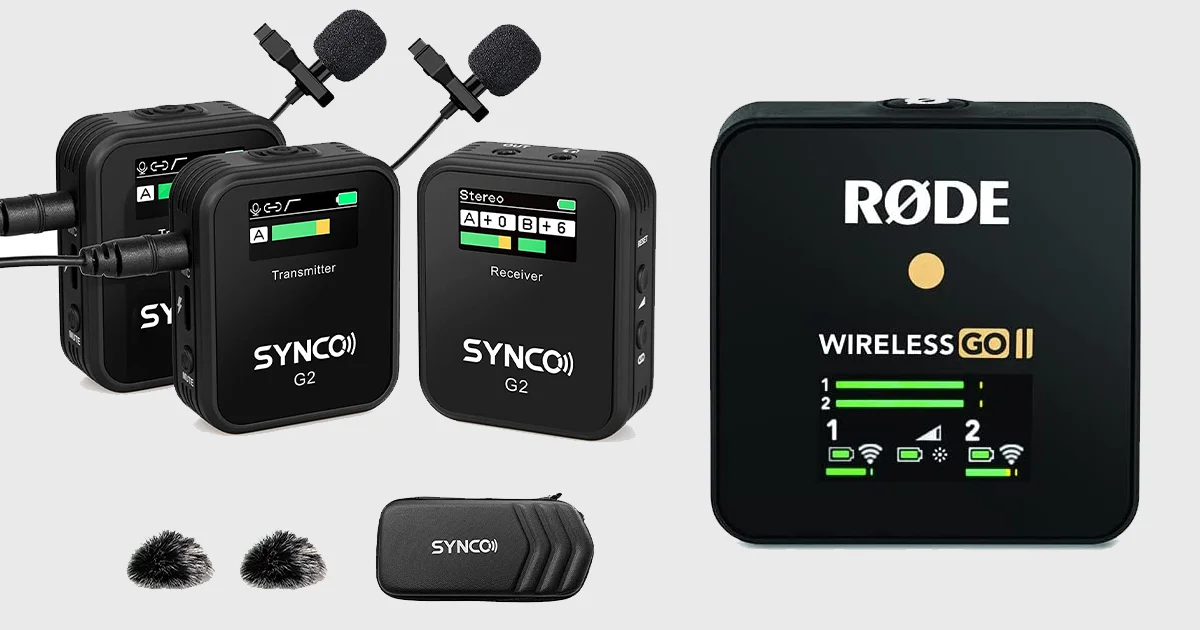
Action Camera Microphone Attachment: Top Pick of 2023
Page
1
Page
2
Page
3
Page
4
Page
5
Page
6