Skip to content
Home
Services
Background Removal
Clipping Path
Ghost Mannequin
Photo Retouching
Color Change
Shadow Creation
Image Masking
Pricing
Portfolio
Blog
Home
Services
Background Removal
Clipping Path
Ghost Mannequin
Photo Retouching
Color Change
Shadow Creation
Image Masking
Pricing
Portfolio
Blog
Free Trial
Get a Quote →
Author:
Ariful I Evan
Photoshop
How To Crop A Circle In Photoshop: Easy and Quickly
Photoshop
How To Flatten An Image In Photoshop: Easy and Simple
Photography
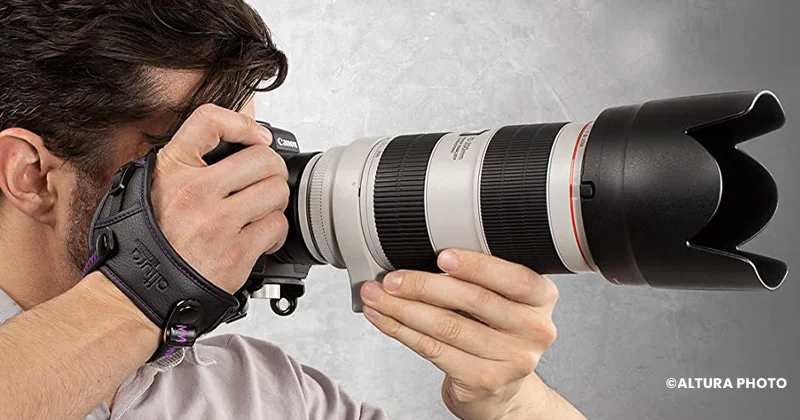
Hand Grip Camera Strap: Top Picks Of 2023
Photography
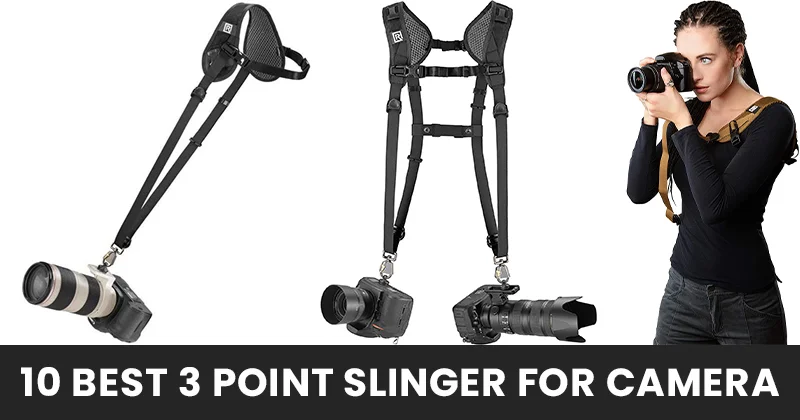
10 Best 3 Point Slingers For Cameras in 2026
Photography
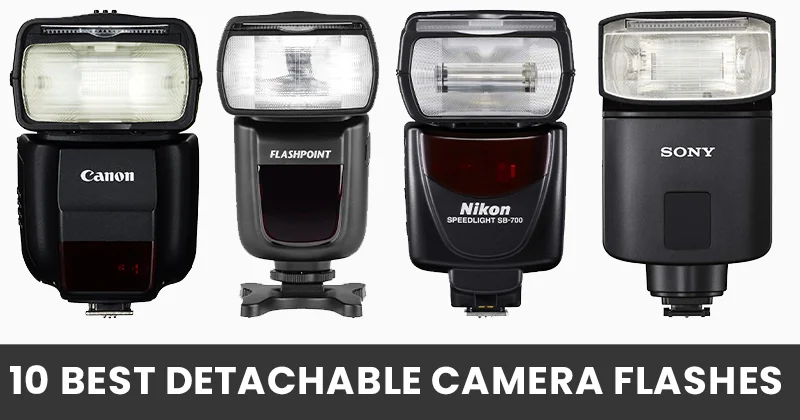
10 Best Detachable Camera Flashes in 2023
Photoshop
How to Create Clipping Path In InDesign
Photography
Tips To Improve Your Portrait Photography In Natural Light
Photography
15 Best Photography Blogs to Follow in 2023
Photography
Product Photography Pricing in 2023 – Rates & Cost Guide
Photoshop
Top 10 Websites to Learn Photoshop in 2023
Page
1
Page
2
Page
3
Page
4
Page
5
Page
6