Skip to content
Home
Services
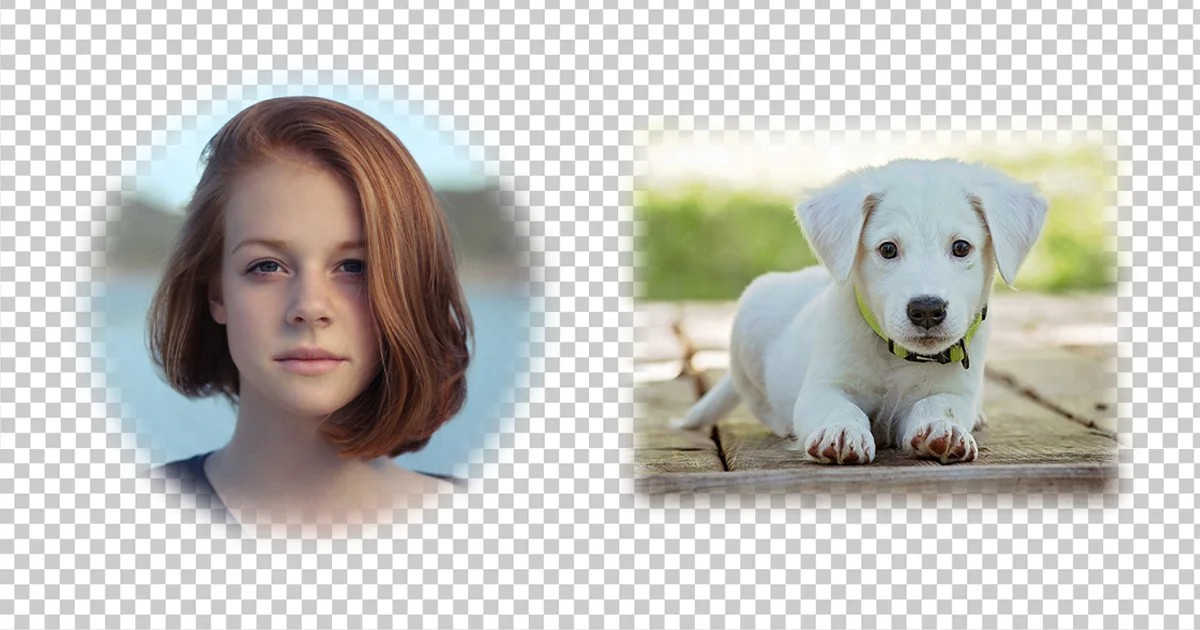
Background Removal
Clipping Path
Ghost Mannequin
Photo Retouching
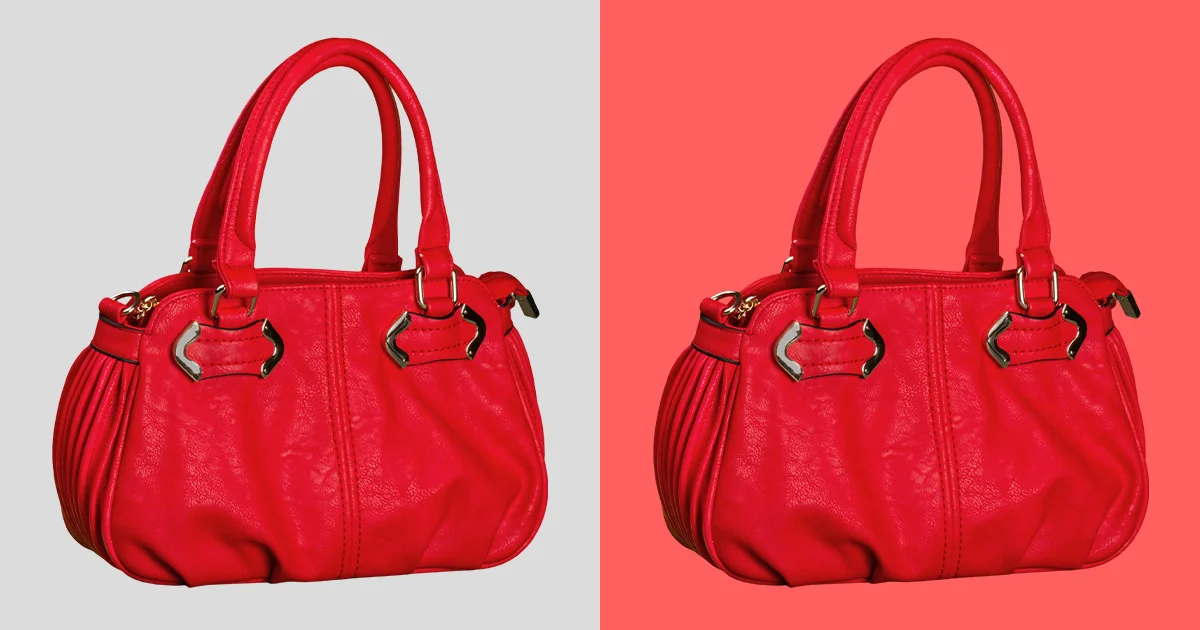
Color Change
Shadow Creation
Image Masking
Pricing
Portfolio
Blog
Home
Services
Background Removal
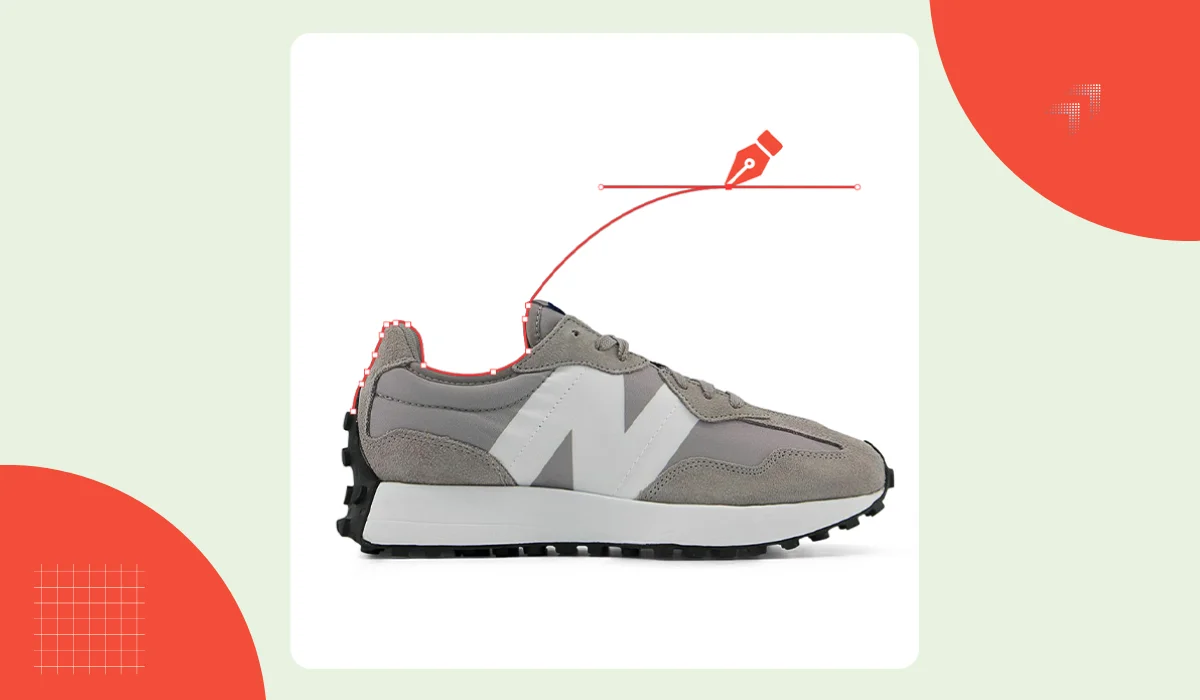
Clipping Path
Ghost Mannequin
Photo Retouching
Color Change
Shadow Creation
Image Masking
Pricing
Portfolio
Blog
Free Trial
Get a Quote →
Author:
Ariful I Evan
Photoshop
7 Best Clipping Path Service Provider Companies
Photoshop
10 Best Photo Retouching Service Companies of 2023
Photography
Best Product Photography Lighting Guide in 2023
Photoshop
How To Change Background Color In Photoshop
Photoshop
How To Feather Edges In Photoshop In 2023
Photography
What Is Post-Production and Post-Processing in Photography? Why Does It Matter?
Photography
Best Way To Share Photos With Clients (Easy And Free)
Photoshop
What is Packshot Retouching and How It Benefits Your Business
Photography
The Comprehensive Guide to Flat-lay Clothing Photography
Photoshop
how to change the color of an object in Photoshop
Page
1
Page
2
Page
3
Page
4
Page
5
Page
6